Whole Grain Sonora Buttermilk Fig Scones

If you follow me on Instagram, you'll know that I recently finished organizing the 2017 Gourmandise Grain Conference in Santa Monica a couple weeks ago. Through that experience, I was invigorated to get on the whole grain train and develop a recipe that I can use time and time again to help spread the word of how AMAZING whole grain baked goods are! 

I'm not an expert baker whatsoever but I love experimenting! If you have been baking for a few years or even a beginner, start getting into whole grains if they are accessible to you! Consider getting flour from local LA miller Nan Kohler who owns Grist & Toll or contact the Tehachapi Grain Project and any number of other California farmers who are growing their own heritage heirloom grains. More often than not, the flour ingredient is seen as a white canvas when you're baking and I learned how to infuse flavors with the additional elements like fruit, infused creams or chocolate. BUT the game changer is when your flour complements your other flavors... almost like how a glass of wine can bring out amazing depth to the steak you're eating. 

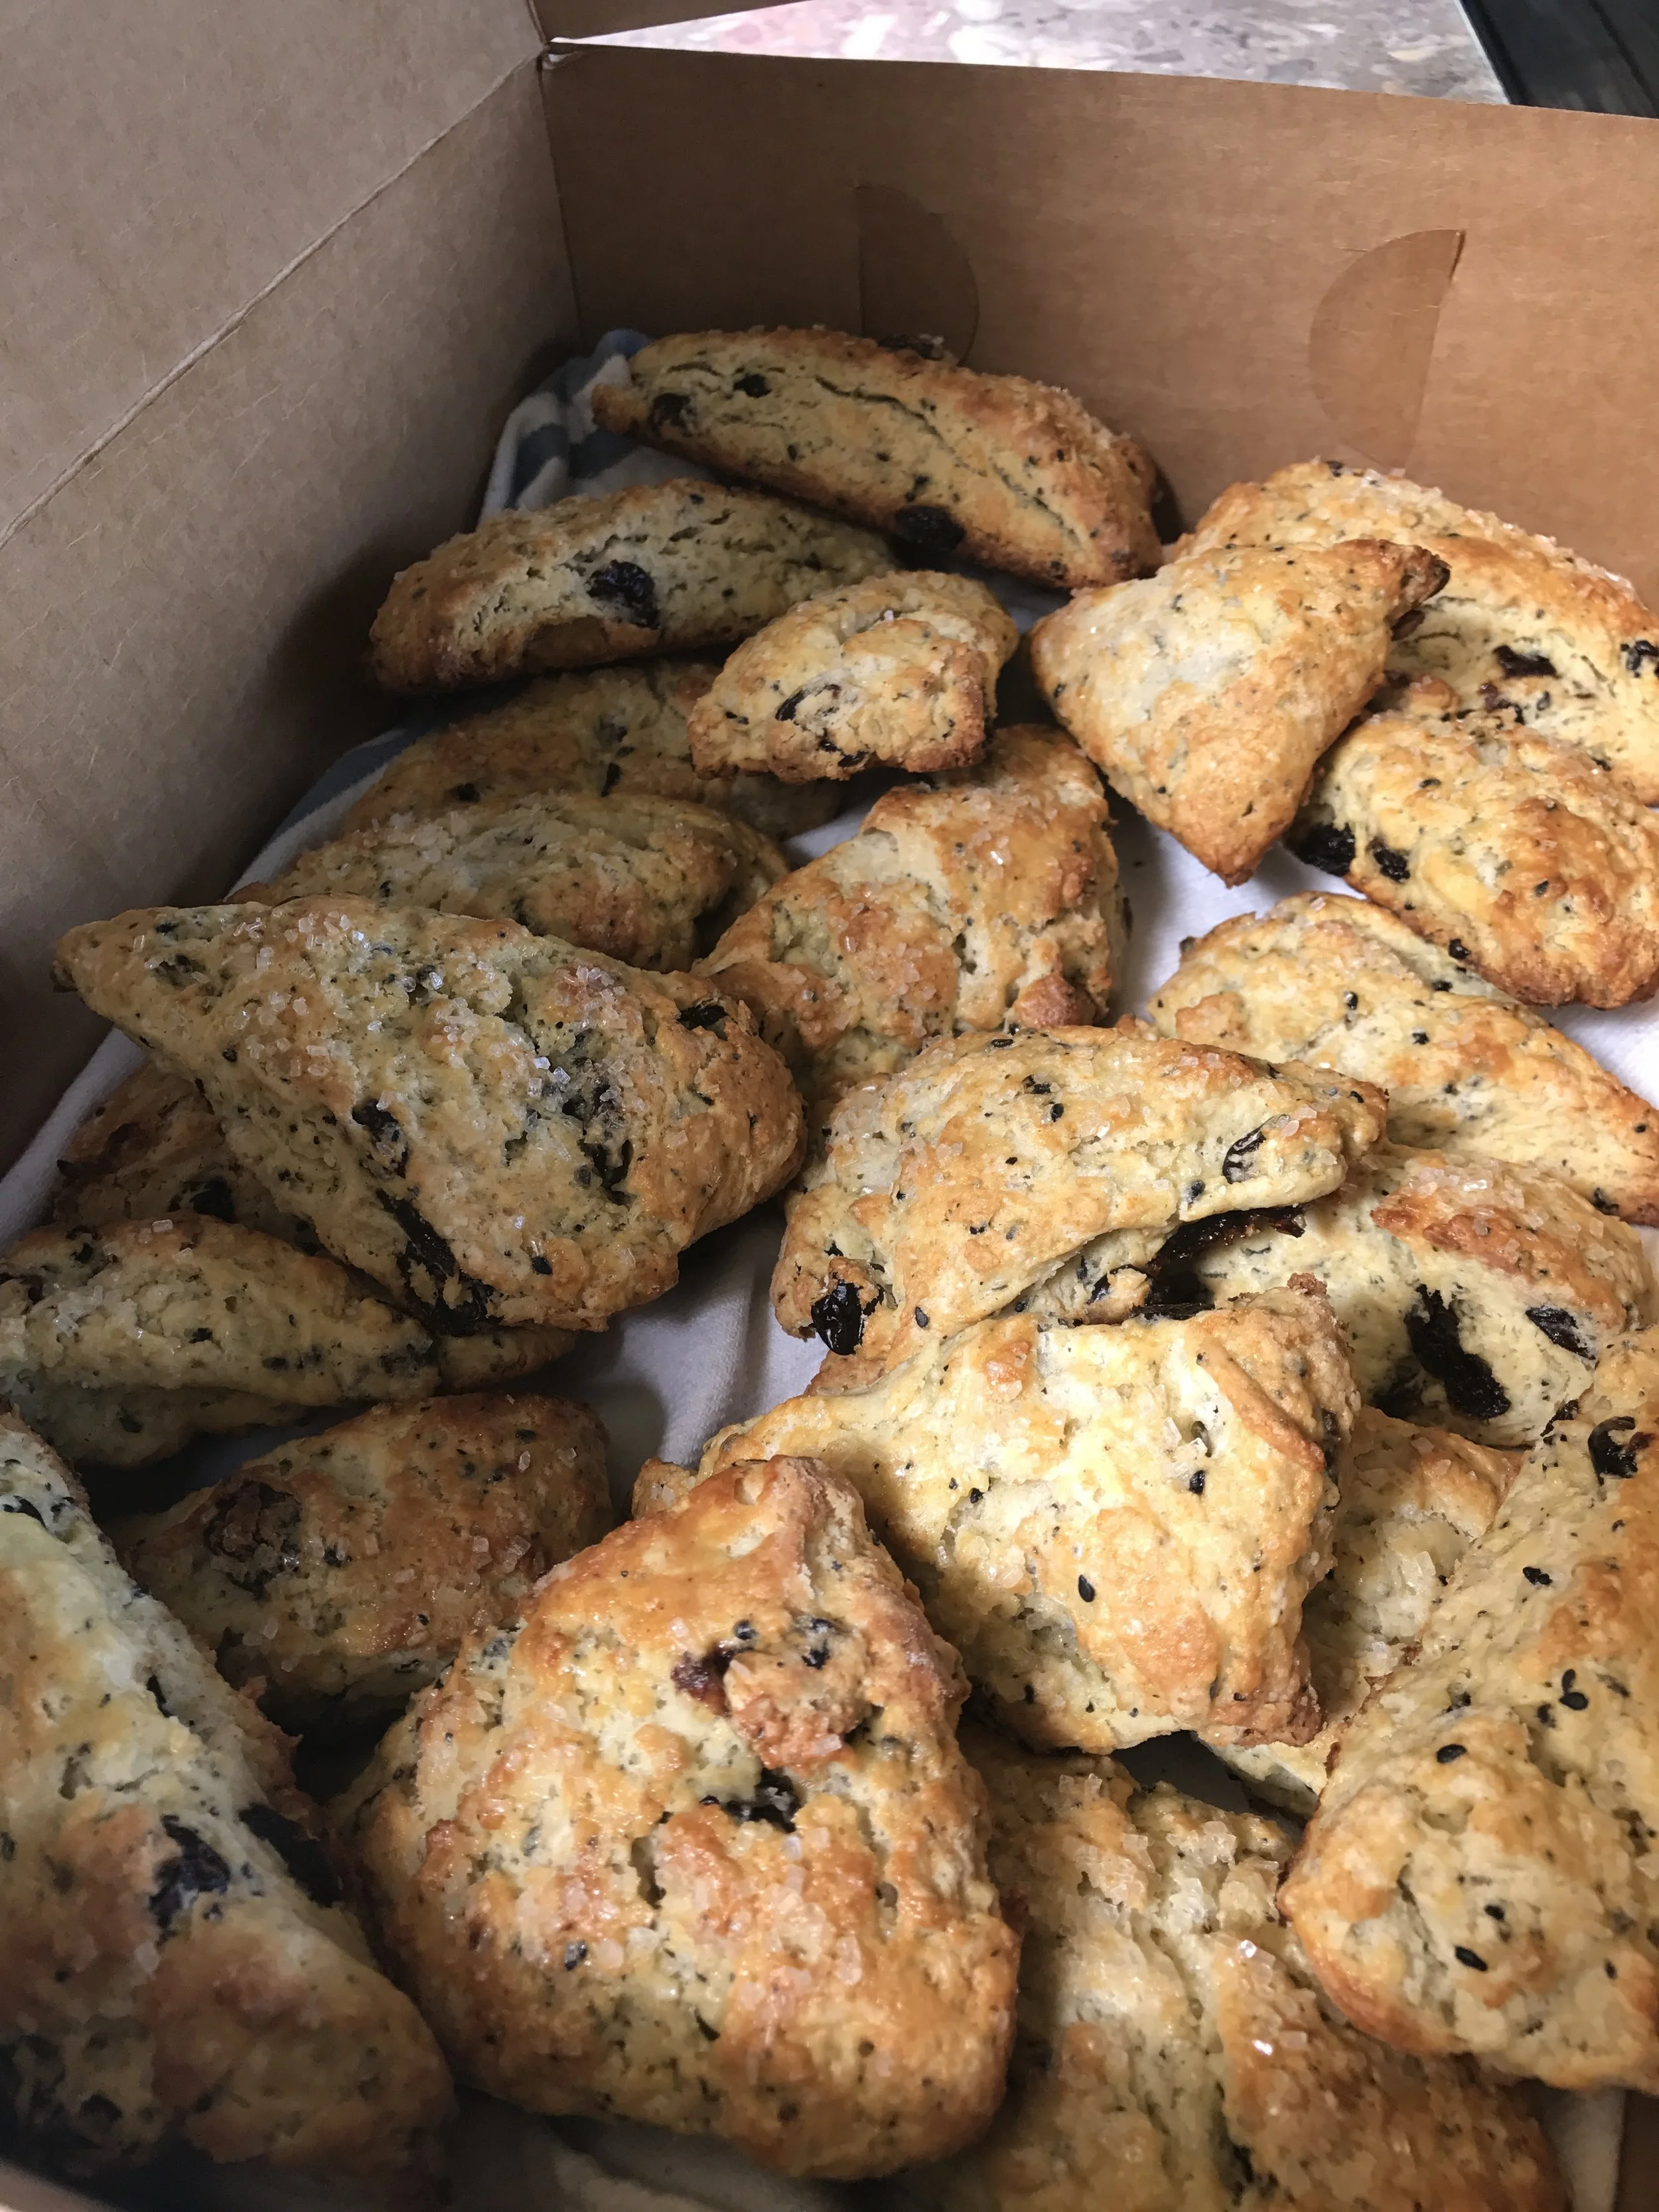
I came up with these whole grain scones because baking with whole grains doesn't have to be scary! It can actually result in the most delicious scones ever. So I've been told. ;) Keep in mind you will need to let your dough rest a bit more than traditional flour and the main difference is in hydration. Try this out with your whole grain flour and let me know what you think! My recipe featured a beautiful Sonora whole grain flour from Tehachapi Grain Project. 

Whole Grain Sonora Buttermilk Fig Scones
Yields 12 scones

Ingredients: 

  • 2 cups fresh black mission figs, cut into 1/2 inch pieces
  • 680 grams whole grain sonora flour 
  • 100 grams granulated sugar 
  • 1 tablespoon baking powder
  • 3/4 teaspoon baking soda 
  • 1 1/2 teaspoon kosher salt 
  • 350 grams unsalted butter, cold and cut into cubes (slightly more than 3 sticks) 
  • 2 cups buttermilk  (or 2 cups whole milk with 1 tablespoon lemon juice) 
  • 1 teaspoon lemon zest

Scone wash: 

  • 1/4 cup of heavy cream 
  • 1 pinch of salt 
  • More sugar for dusting 

1. Prepare the figs by dicing them into 1/2 inch pieces. I cut mine in half, then quarters, then sliced each quarter into 2-3 pieces depending on how big they were. Lay all the diced fruit on a piece of parchment paper on a single layer and stick them into the freezer. Want the fruit to be frozen so they don't get smashed when you mix them into the dough later. 

2. Prepare another sheet pan with parchment paper and set aside. This will eventually hold your cut scones. In a large mixing bowl, add your flour, sugar, baking powder, baking soda, lemon zest and salt. Whisk together to incorporate your dries. 

3. Add butter to your flour mixture and start to cut your butter chunks into the flour. I like to do this method with my fingers so I can control the size of the butter chunks. Alternate between tossing everything together then press the butter and flour together. Work quickly and stop pressing the butter into the flour when they become pea sized. The mixture should look mealy and chunky. 

4.  Add half of the buttermilk amount and toss around in the flour to incorporate. Remove frozen figs from the freezer and add into the flour butter mixture, then add the rest of the buttermilk. Continue to mix with a spoon or your hands (if you don't care about getting messy). If the mixture feels too dry and not holding together, add another tablespoon of buttermilk. 

5. Lightly dust your tabletop with flour and dump out the dough on your surface. This is where you want to be careful with NOT overworking your dough or you'll end up with tough scones.

6. We're now going to incorporate some folds into your dough. Two folds to be exact. Pat down your dough to a rectangle that is about an inch thick. Fold the dough rectangle in half on top of itself and using the heel of your palm, press the dough down back into a rectangle that is an inch thick. Repeat the fold on the opposite end and press down with your palms until the dough is about 2 inches thick. Keep in mind you'll want the shape of the final dough to be a long rectangle so work toward that as you're incorporating your folds. 

7. Using a large kitchen knife, cut triangles out of your long rectangle and transfer on to your lined sheet pan. Cover in plastic wrap and freeze overnight or at least 2 hours. 

8. When ready to bake, preheat oven to 400F. Make your scone cream wash by adding a pinch of salt to your heavy cream. 

9. Add scones to a new parchment lined sheet pan and brush only the TOPS with your heavy cream and sprinkle with more granulated sugar. 

10. Bake for 25-30 minutes or until the scones are lightly browned on top and develop a darker crispy bottom. 

11. Enjoy fresh out of the oven! 


Black Sesame Cherry Scones

I find my moments of recipe creation so strange sometimes. I might go through Instagram and see what flavors inspire me, surf Pinterest to see what trends are happening... but chance are if I try to force it, it's actually extremely difficult and I get recipe block (which is the most frustrating thing ever). Recently, I'll have these moments of creative breakthrough in the most unexpected times.

I was speaking in front of the Los Cerritos District Women's Club Alumnae about my new found baking life but also wanted to provide these wonderful ladies with some baked goods. For this, I knew I wanted to make something that could be done in the same morning of being served. Low and behold, A SCONE is the perfect baked good that is delicious, impressive and made in the same day! Keep in mind there is some freezing time required and the longer the better but you can do a minimum 1hr before you bake and they'll still come out great. 

I've had some left over dried cherries from my hand pie making day and then I chose to pair it with black sesame because there's an earthy/nuttiness to that ingredient that would pair perfectly with the tartness of the cherries.  I also really feel black sesame is SO under utilized in the baking world!  When using cherries, I make sure to plump them up a bit in some water for 10 minutes so they aren't just a bunch of dry bits in here. I would also consider using dried currants or blueberries which I can see being sooo delish with black sesame. 

I'm not even a big scone eater but loveee this recipe! It's really great softness on the inside and crisp outside. Hope you guys love them too! 

Tips:
- Remember to handle the dough as little as possible. Don't want to over exercise the gluten in the flour. 
- Use cold, cold butter and cold liquids!  If you even have time to refrigerate your dry ingredients, do it!  COLD EVERYTHING is the key to fluffy and flakey scones! 
-  Freeze your cut scones for at least 1-2 hours before applying your wash and baking. You want these babies practically frozen before going into the oven. 

IMG_0547.jpg

Black Sesame Cherry Scones
Adapted from King Arthur / Makes 10-12 scones depending on how you slice them

Scone Ingredients: 

  • 2 3/4 cups all-purpose flour 
  • 1/3 cup sugar 
  • 3/4 teaspoon kosher salt 
  • 1 tablespoon baking powder 
  • 2 tablespoons roasted black sesame
  • 1 tablespoon roasted black sesame powder 
  • 1/2 cup cold butter, diced into cubes 
  • 1 cup dried dark cherries, soaked
  • 2 large eggs, room temp
  • 2 teaspoons vanilla extract 
  • 1/4 cup heavy whipping cream 
  • 1/4 cup whole milk

Topping Ingredients: 

  • 2 teaspoons whole milk 
  • 2 teaspoons heavy whipping cream 
  • 2 tablespoons sparkling white sugar 

1. Prep your cherries by covering with water and letting them soak for 10 minutes. Grind your black sesame into powder if needed. Prep 1 large baking sheet with parchment paper and lightly dusted with flour then set aside. 

2. In a large bowl, add flour, sugar, salt, baking powder, black sesame powder and black sesame. Whisk together to incorporate. If you have time, place the flour mixture into the fridge for at least 20-30 minutes to chill. If you don't have time you can skip this step just work quickly. 

3. Add in diced butter to the flour and rub the bits of butter with the flour until it becomes a very rough and crumbly mixture. There should still be bits of butter showing. 

3. Remove cherries from the water and lightly pat with paper towel just to remove the excess water. Fold them into the flour and butter mixture. 

4. In a medium bowl, add eggs and beat with a whisk. Add in whole milk, heavy cream and vanilla to the eggs and whisk together. Add the liquids into the flour mixture starting with 2/3 of your liquid. So add in most of it but not all of it since it may not all be needed. Mix in the dry ingredients with the liquid with your hands just until it's incorporated but still feels a bit dry. (This is very messy so be prepared!) 

5. Take the dough and scrape onto the baking sheet with parchment paper. Add more flour as needed if it's too wet to handle. Separate the dough and using the heel of your palm shape into two discs next to each other. Each disc should be about 3/4 of an inch thick.

6.  Using a bench scrapper, cut each disc into 5-6 wedges then pull them apart so they sit at least 1 inch away from each other. Place into the freezer uncovered for minimum of 1.5 hours before baking and up to 1 month. 

7. Preheat oven to 425 F. When oven is ready, remove scones from the freezer and apply a quick cream/milk wash. Sprinkle with sparkling sugar. 

8. Bake in heated oven for 20-23 minutes. The thicker the scone the longer they'll take. Rotate the pan at least once when 75% of the time has passed. Scones are done baking with the outside is golden brown and can lift off the pan. 

9. Remove scones from the oven and cool for 1 minute on the pan. Transfer over to a cooling rack and serve immediately! These puppies are the best straight from the oven or if you want to save them make sure you reheat before eating.