The first time I came across a pavlova was when I used to bake for a team of account people in my advertising agency days. It was my teammate's birthday and she was Australian so said her favorite dessert was the pavlova. Upon researching what a pavlova is, I learned that they are these amazingly delicious AND gluten free desserts that are egg white meringues topped with whipped cream and fresh fruit. I feel in love with them because they're pretty easy to play with once you get the ratios down for add-ins and then the toppings are endless!
I love making really big ones for dinner parties or group occasions. You can also make mini/individual sized ones depending on how many people you're feeding or save the pavlova base and enjoy over 3-4 days!
The only catch is once you assemble these desserts, they're quite delicate so will need to eat it right away. This won't be hard since once you take one bite, it will be difficult to resist. The incredible part about eating these desserts is they actually make you feel LIGHTER. It doesn't get better than that!
For this recipe I went with pistachio and pomegranates because I love the colorfulness of this combo. It's so perfect for the holidays and delicious together! You will need a mixer for this recipe and patience. These meringues bake off on a low temperature for about an hour, sometimes longer depending on your oven. You also don't want to make these in big batches unless your oven and mixer can withstand the capacity.
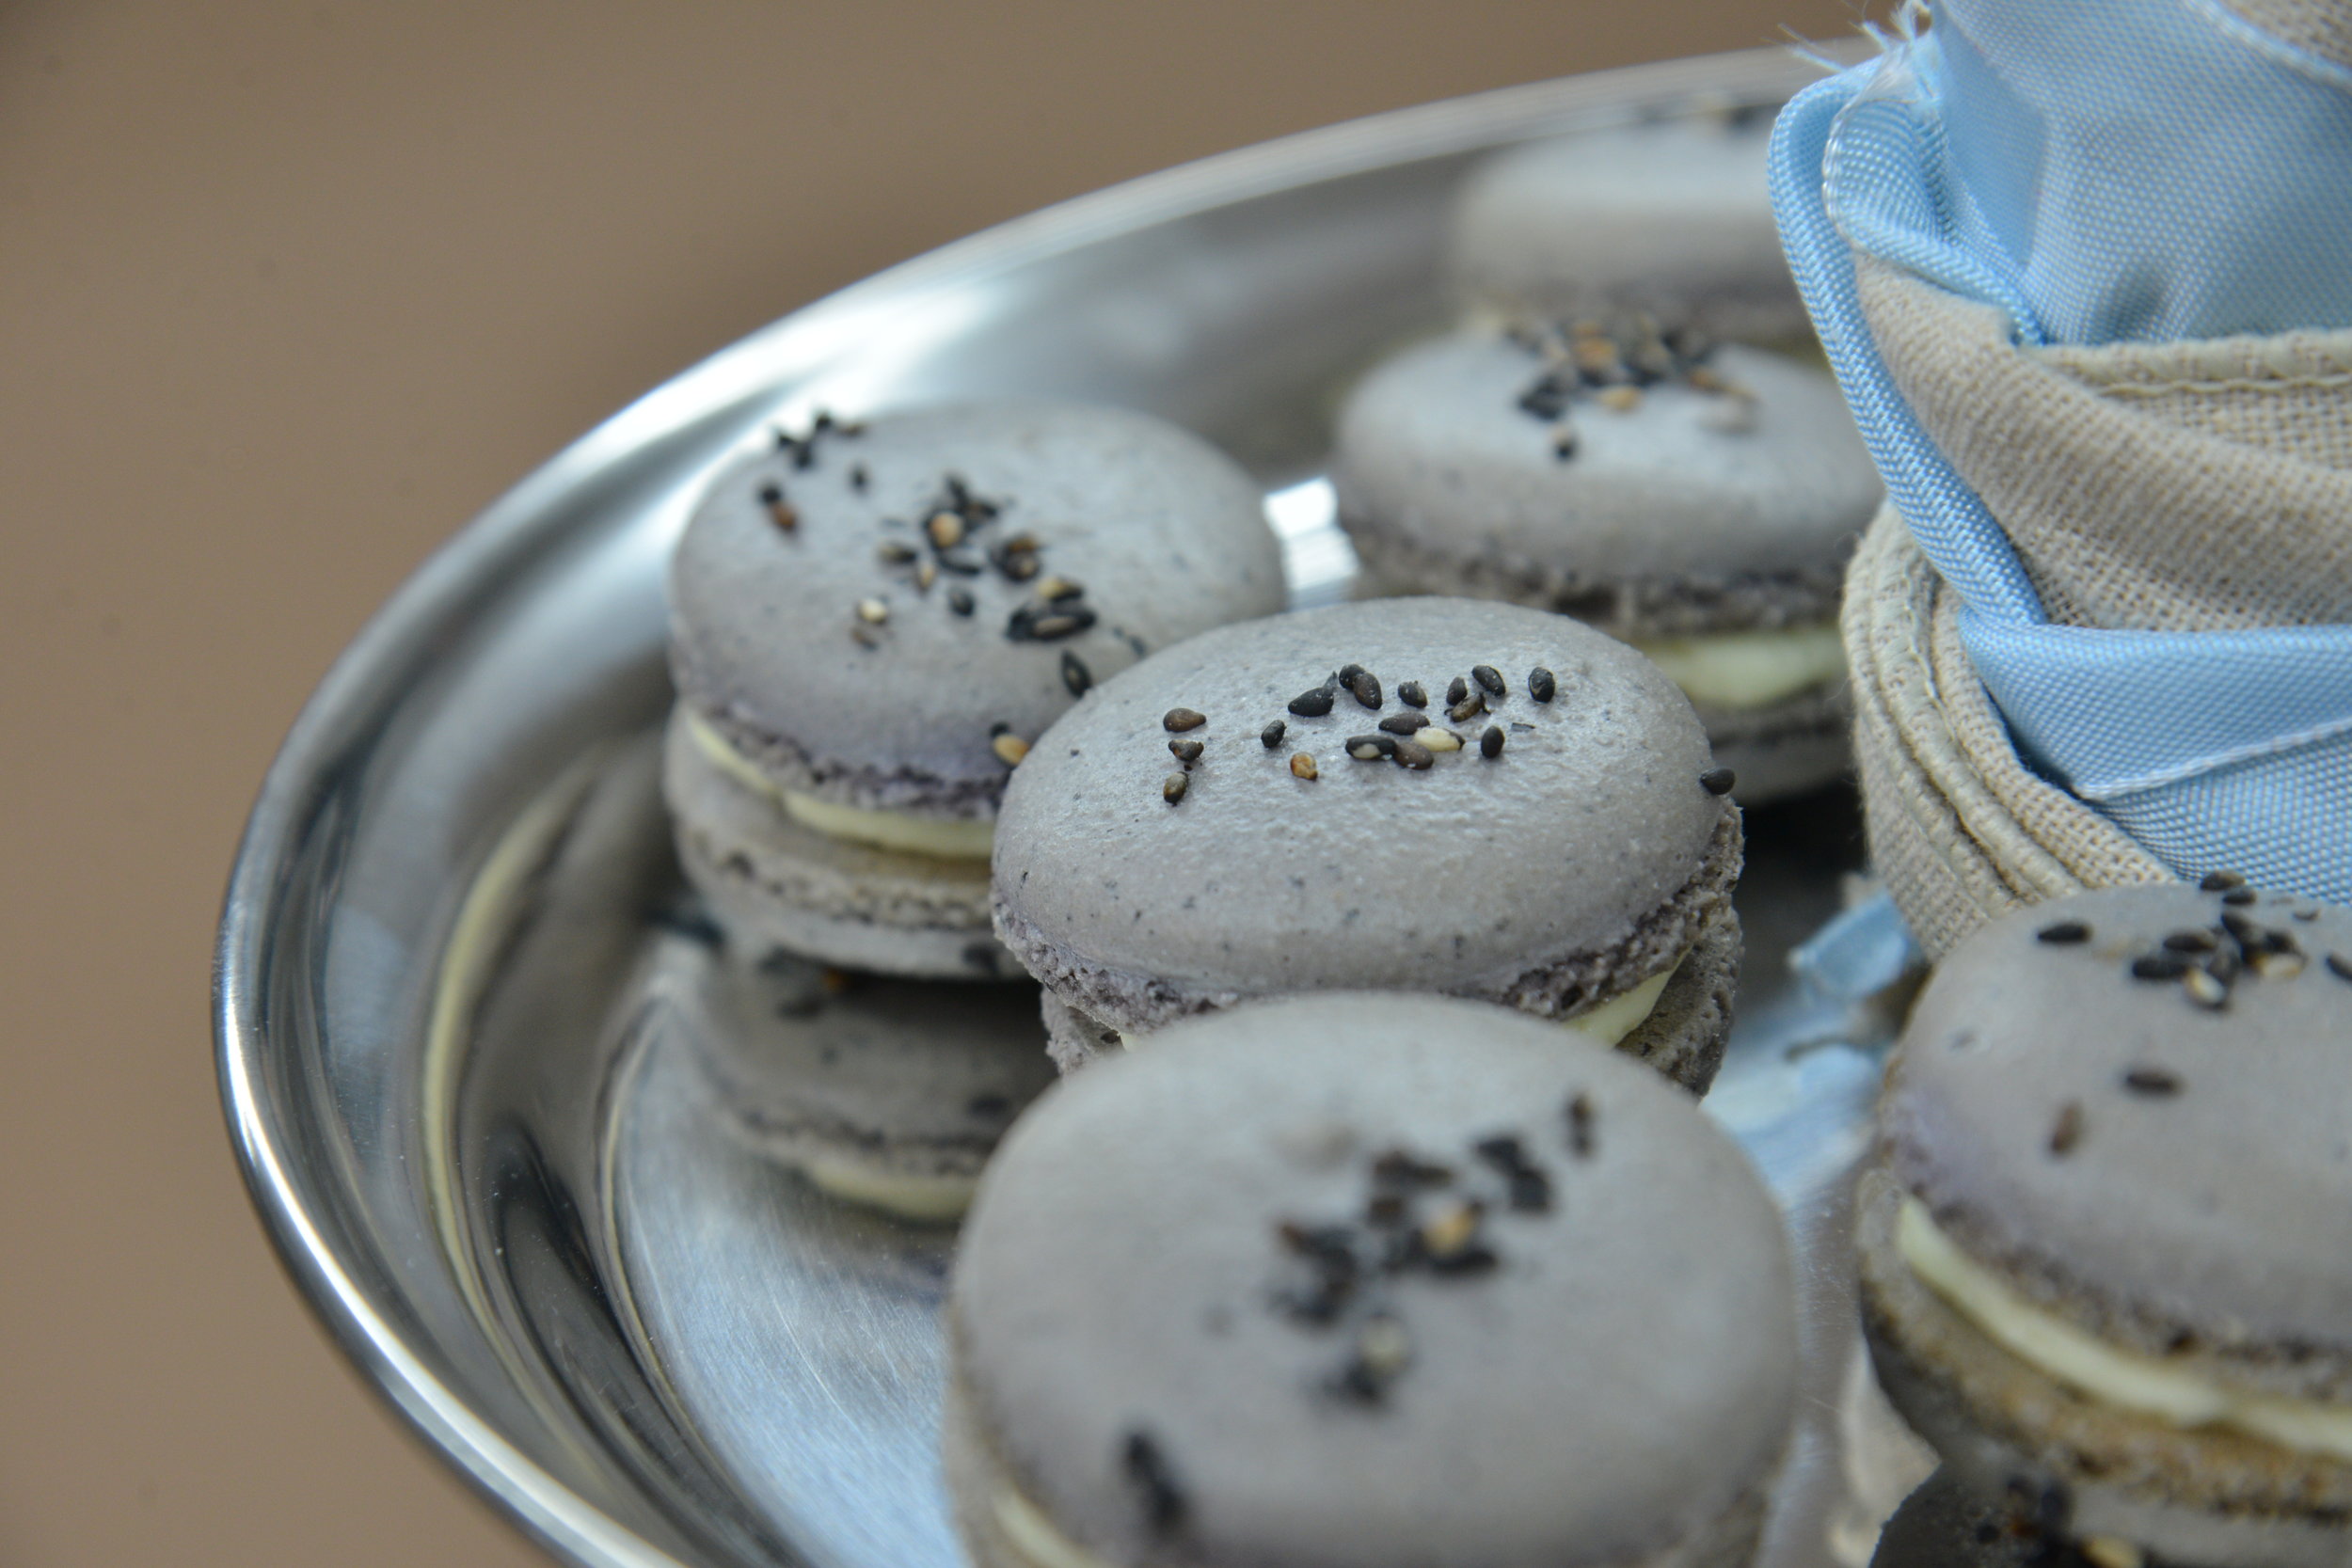
Raspberry Pistachio Mini Pavlovas
Yields 5-6 individual 3.5" pavlovas.
Pavlova Ingredients:
- 90g egg whites, room temp
- 1/8 teaspoon cream of tartar
- 150g white granulated sugar
- 1/2 teaspoon white wine vinegar
- 1 teaspoon cornstarch
- 2 cups raw, unsalted pistachios (the greener the better)
- 25g white chocolate, chopped
Whipped Cream:
- 2 cups whipping cream
- 1/4 cup créme fraché (optional)
- 3 teaspoons vanilla extract
- 1/4 cup powdered sugar, sifted
Toppings:
- Fresh seeds 1 large pomegranate
- Extra finely ground pistachios
- Honey
Pavlova Base:
1. Preheat oven to 355 F. On a piece of parchment paper, trace 3 or 3.5 inch circles spaced at least 2 inches apart with a pencil. Should be able to fit 4-5 of them comfortably on each baking sheet. I like to use cookie cutters or a smaller biscuit cutter as a stencil. Feel free to make them smaller if desired but limit to 2 sheets in the oven.
2. Chop white chocolate into small pieces and set aside. Make sure they’re small enough to fit through your piping tip. Add your pistachio nuts into a food processor and process until fine. Careful not to go too far with the nuts as you do not want pistachio paste. Set aside chocolate and ground pistachio.
3. Place room temp egg whites and cream of tartar in a stand mixer bowl with a whisk attachment. Whisk until soft peaks form. Slowly add sugar one tablespoon at a time until fully incorporated and continue to beat until the egg whites become stiff and glossy. Don’t over beat the egg whites or they will separate. When you can hold the mixture upside down without it falling out, it’s done.
4. Add white wine vinegar, cornstarch, chopped white chocolate and ground pistachio. Using a large spatula, fold in ingredients very slowly and carefully. Don’t over mix or you will deflate the egg whites.
5. Using a little pavlova mixture, apply on the corners of the parchment paper (same side you drew on, then flip over parchment paper so it’s pencil side down on a baking sheet.
6. Add mixture into a piping bag fitted with a large open star tip. Pipe into the circles and clean it up with an offset spatula. Make sure you are FILLING them completely when swirling. Don't want any air gaps in any of the shells.
7. Place piped pavlovas into oven on the middle racks, then immediate drop the temperature to 285F. Bake for 1hr to 1hr to 1hr 15 minutes until the outside of the shells are firm/dry. The way to tell when the Pavlova is done cooking is when it looks crisp at the edges. The tops will be dry but if you press on the underside it’ll give a little since the centers are still soft and squishy. If you tap them lightly they should also sound a little hollow.
8. Place the pavlova back in the oven and leave the door slightly ajar so the pavlovas can cool slowly to room temp in the oven. (Should take another 35 minutes) If you remove from a hot oven you run the risk of your shells deflating. Shells last up to 4 days in an air-tight container.
9. When ready to eat, prepare your whipped cream. Add heavy cream, créme fraché, vanilla extract and sifted powder sugar into a chilled mixer bowl. If you're not using créme fraché, you'll still have lovely whipped cream but it's not as shelf stable in my opinion.
10. Using a whisk attachment, whip on medium until you reach a soft peak. I like to mix the rest of my whipped cream by hand with a hand whisk so I can control the exact stiffness of the cream. You want a soft billowing whip but still firm enough to old it's shape and toppings without weeping.
11. Top fully cooled pavlova base with a hefty dollop of vanilla whipped cream. Sprinkle on fresh pomegranate seeds, pistachio grounds and a touch of honey on each pavlova to your liking. Serve and consume immediately upon assembling.